
A pretty Origami flower are usually made from five or six square folded sheets of paper. By combining let’s say ten single Origami flowers into one you will even get a beautiful Origami flower ball.
In this how to, we will show all basic steps to fold an outstanding and perfect Origami flower
By the way, this Origami folding is only half as difficult as it looks like. The folding is therefore also perfect to do together with children.
Ready ? Let’s get started !
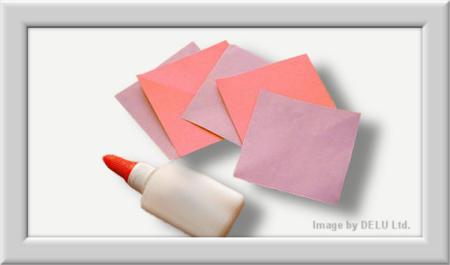
Step 1
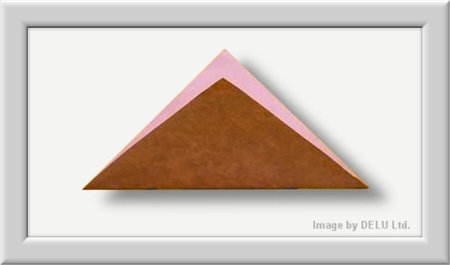
The result should be a triangle as shown above.
Step 2
Step 3
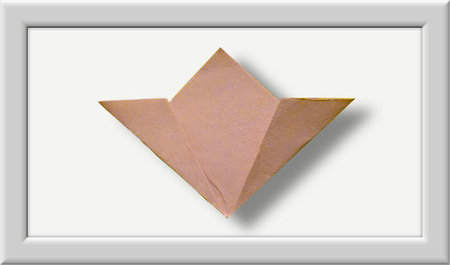
Make sure that the back-folded back edges are lining up with the edges of the square below.
Step 4
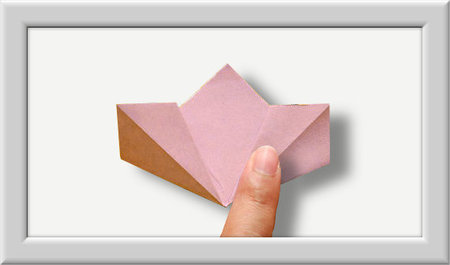
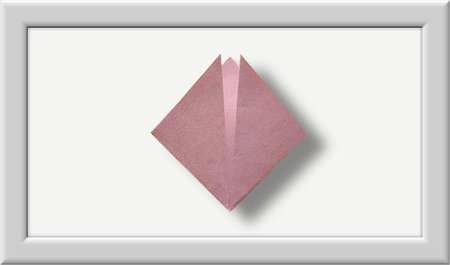
Just as shown in the picture above, go and lift each side of the triangle. Now use your finger to open the pocket inside by re flatten along the crease. Each pocket should now have the form of a diamond.
Step 5
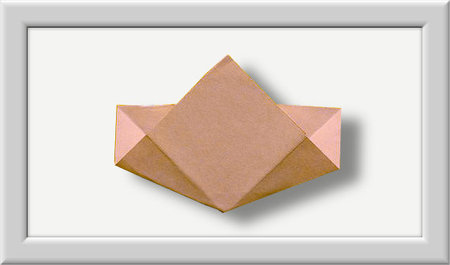
Step 6
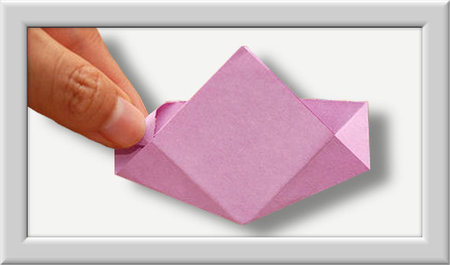
When you open the left side of the folded paper slightly, you’ll see that under the top sheet of paper, there is a fold, which comprises half the diamonds below. Simply fold under the top of the diamond in the body of the shape of space Paper, which is covered half.
Step 7
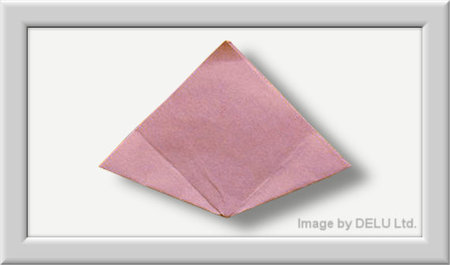
Step 8
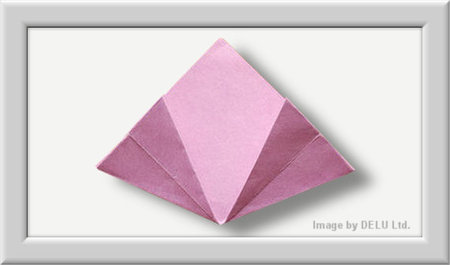
Step 9
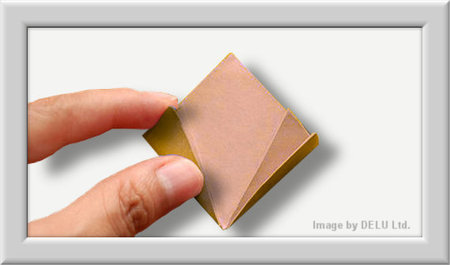
Step 10
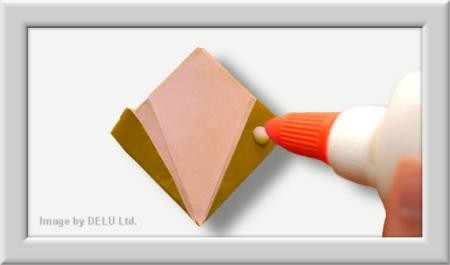
A glue stick might be a good idea. However I prefer white glue because this kind of glue is not drying that fast !
Step 11
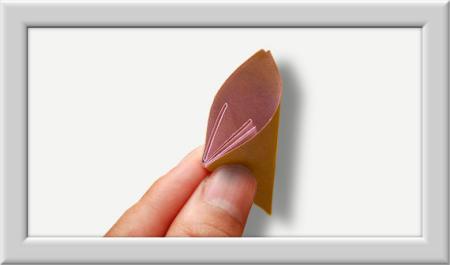
Now fix it with one or two paper clips.
Step 12
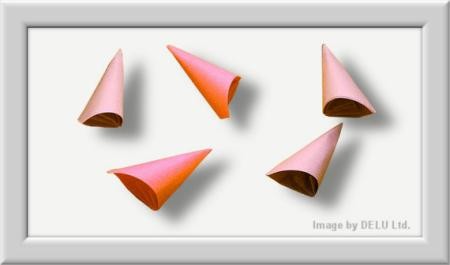
Step 13

Make sure to apply enough glue just the same way as shown in the picture above.
Step 14
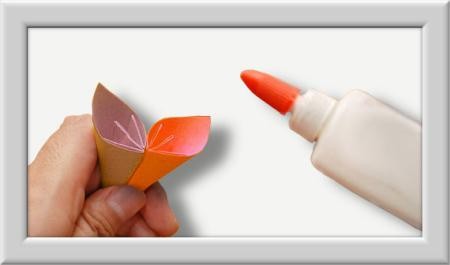
Step 15
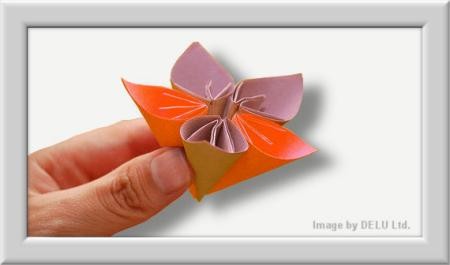
Step 16

…….and our beautiful Origami flower is finished !
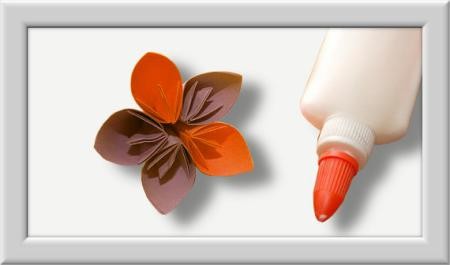
Wow, that’s a beautiful Origami Flower !
Hints :
- Make sure your folds are sharp, precise and straight. It gives the finished Origami flower a clean appearance.
- When adding even more pieces the Origami flower would look even more outstanding.
- By assembling twelve Origami Flowers you can even achieve an traditional Kusudama Flower.
SEP


